On Friday morning, 28 August, we (the folks from various companies across the Potato Productions family) trooped down to the Potato Productions Makerspace @ The Beacon (Tasek Academy & Social Services) at Taman Jurong Community Centre to do just this. This was a Spuds Meet event, organised by Potato Productions for fun and meaningful learning and living.
The workshop was conducted by Swiss sewing machine company Bernina, and facilitators for the session were Yasmeen Misran and Phyo Thant Kyaw. There was also an assistant facilitator, Dewi Manja, a graduate from the Passion to Profit programme at the Beacon makerspace.
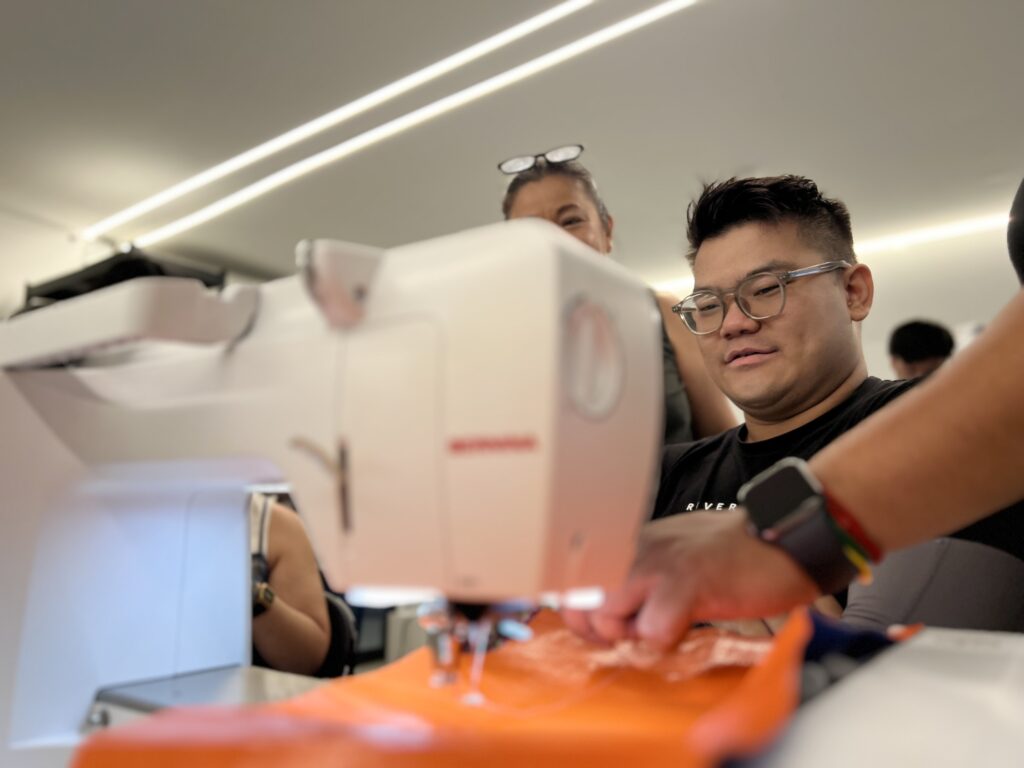
The sewing machine model used during the workshop was the BERNINA B535 (but other models can also be used with AI-to-embroidery).
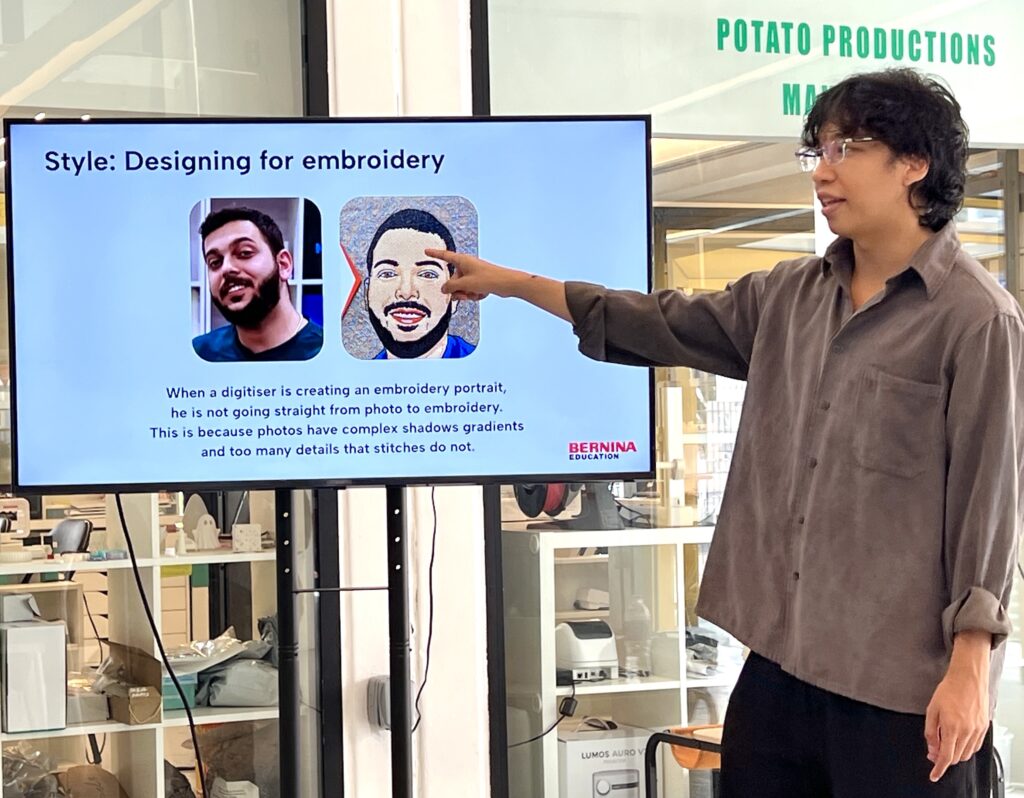
The workshop started with Phyo explaining what sorts of images work best to be translated to designs for embroidery. Photographs, while attractive to our eye, are far from ideal because photos have complex shadow gradations and an overwhelming number of details which cannot be effectively translated to an embroidery design of relatively few stitches. An embroidered design such as the one we would be making works best with limited colours (the fewer the better), and clean shapes and outlines. Since the Bernina sewing machines we would be using would have a spool of one colour of thread, and we wouldn’t be changing the spool to change the thread colour, we would create our design using a single colour.
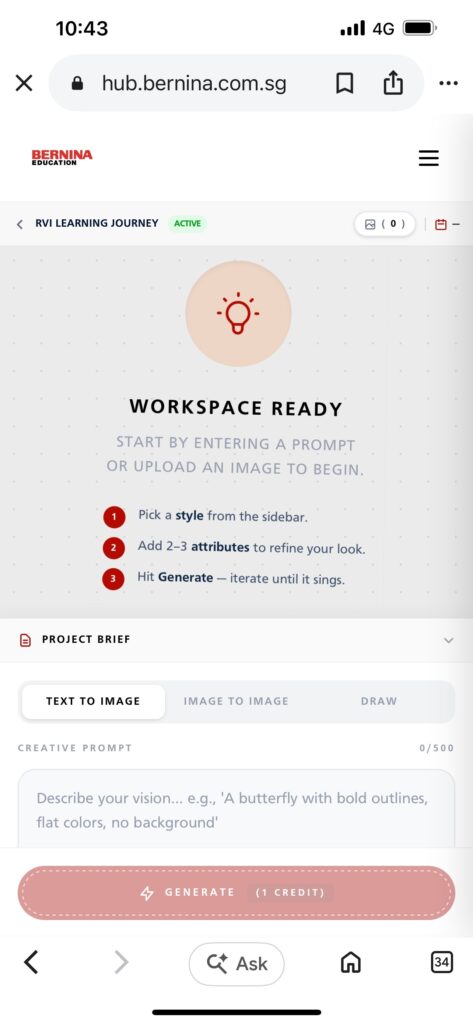
On the Bernina website, we each created an account for ourselves. The next step was to create our design for embroidery. There were three options to do this:
- Text to image
- Image to image
- Draw
For text to image, we would enter a text prompt and AI would generate an image for the embroidery design from the prompt.
For image to image, we would upload an image and AI would generate an image for the embroidery design from the prompt.
To draw, if you were using a laptop or mobile phone, you could choose to draw with your finger. I was using an iPad so I wanted to try drawing with my Apple pencil.
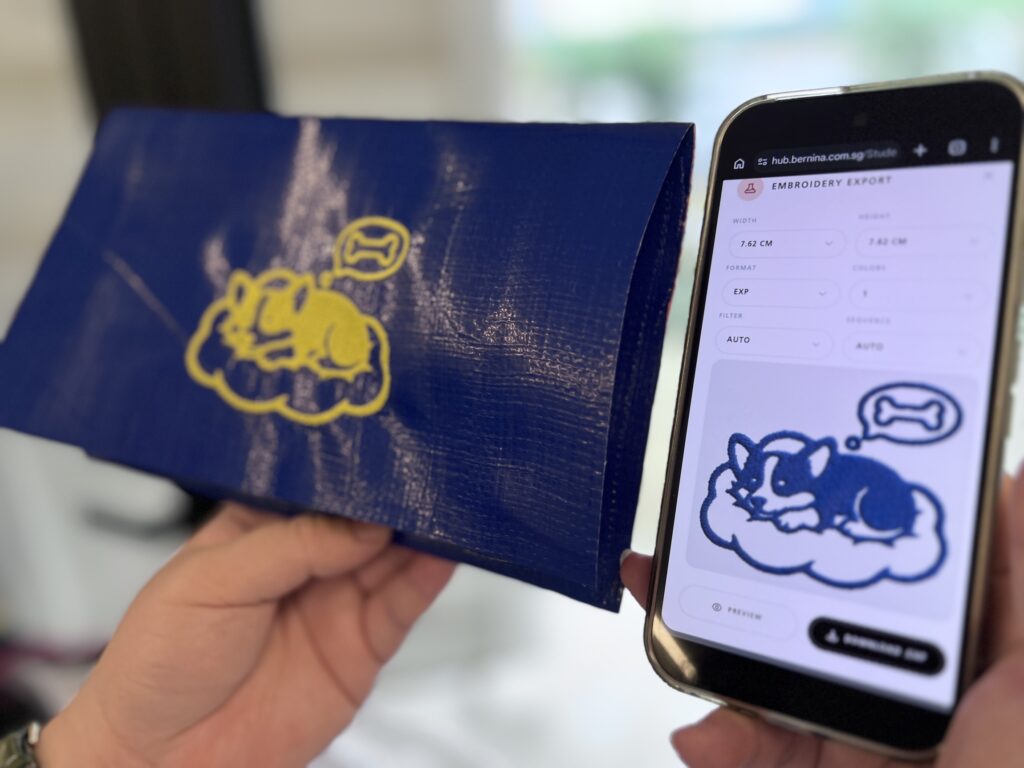
I was the only one who chose the drawing option, and I observed my fellow workshop mates who chose the text to image option describe what they wanted to embroider (a corgi, a polar bear on a block of ice, a cat) and have that translated into a design for embroidery easily enough. Some people didn’t like the design that was initially generated, and they simply tried again by adjusting their text prompts until the outcome generated was to their liking.
Back to my own design, I initially began drawing the bottle of oolong tea I’d bought earlier that morning from Don Don Donki at GEM mall on the way to Taman Jurong, because it had a solid yellow label and I thought the undulating shape of the bottle would make a clean yet interesting outline.
However, midway through our design efforts, we were informed that our embroidery would be part of a pouch. Having an image of a random tea bottle my pouch didn’t make much sense to me. So I decided to change my design to a rubber duck, because birds are rather simple to draw and I like birds, as I like all animals. However, drawing, even with the Apple pencil on my iPad, on the space allotted for drawing on the website, wasn’t as easy as I thought. Usually I draw using the Procreate drawing program on the iPad and control is pretty good. However, this was of course not the Procreate program and even with the Apple pencil, it was hard to create the shape of the duck as I wanted it to be. The line of the shape was turning wayward at some points. Also because I couldn’t remember the details of exactly how an actual duck’s feet and wings looked like, and I was honestly too lazy to google a reference image, in the end, I freestyled some form of legs so the ultimate drawing looked like a duck-bird hybrid. I thought it was cute.
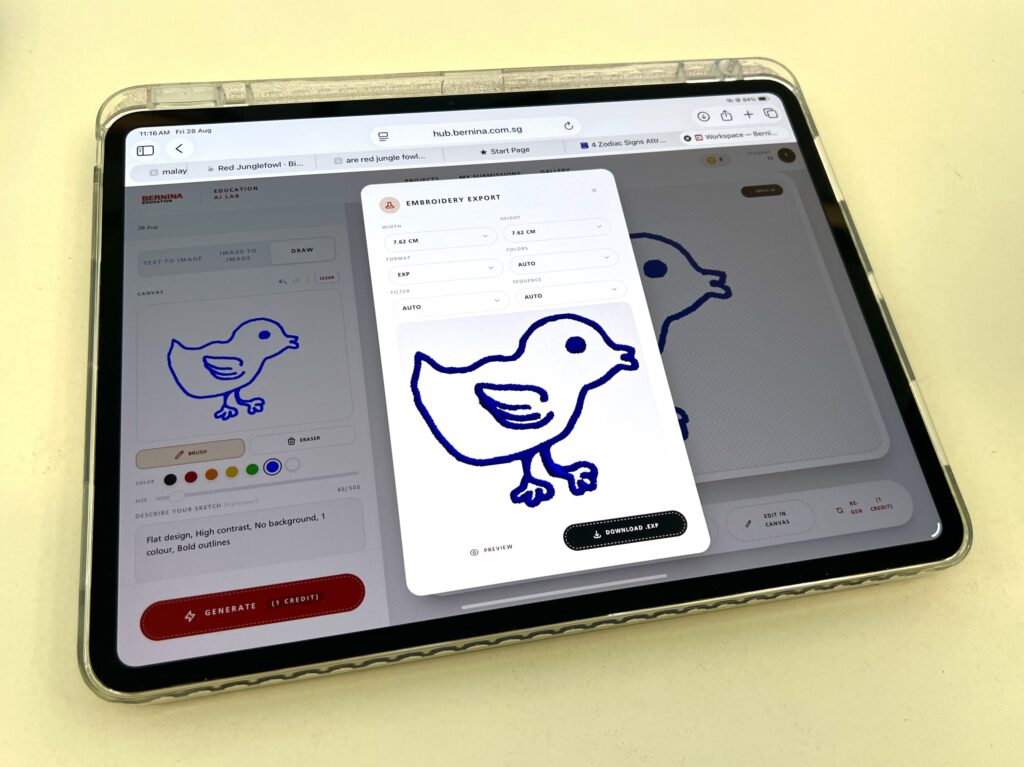
Once we had our design, the next step was to add some preset filters to conform it to a design that was appropriately embroiderable. So most of us chose the filters ‘bold outline’ ‘high contrast’, ‘flat colours’ and ‘no background’.
The program then generated the embroidery design as an svg file.
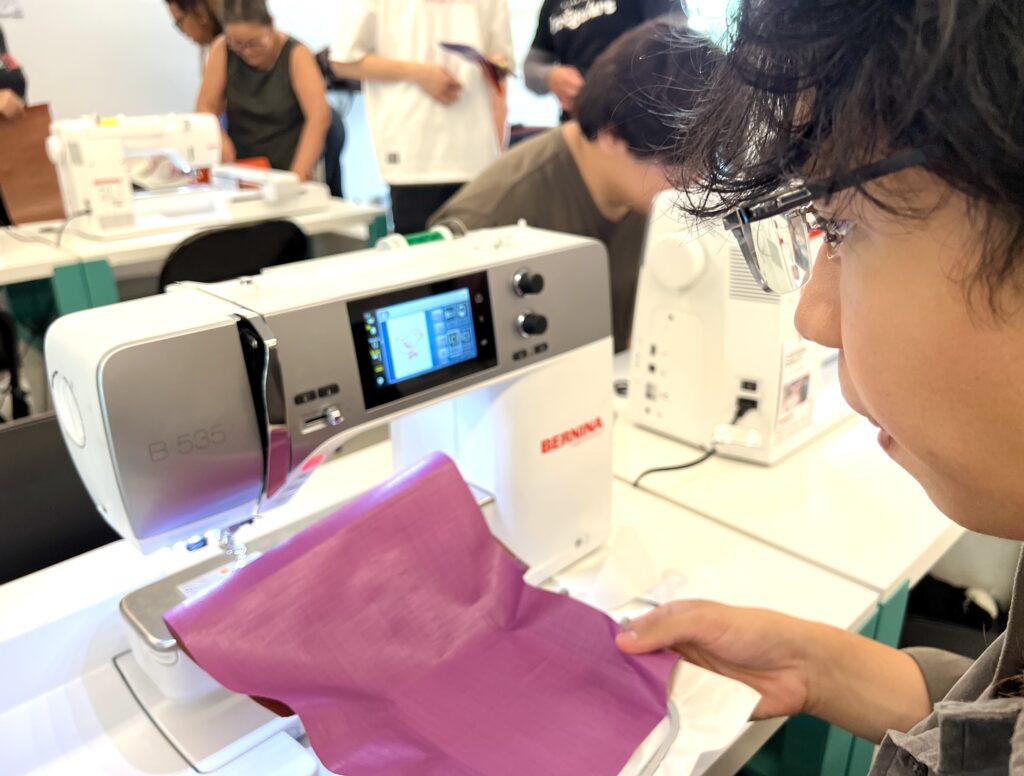
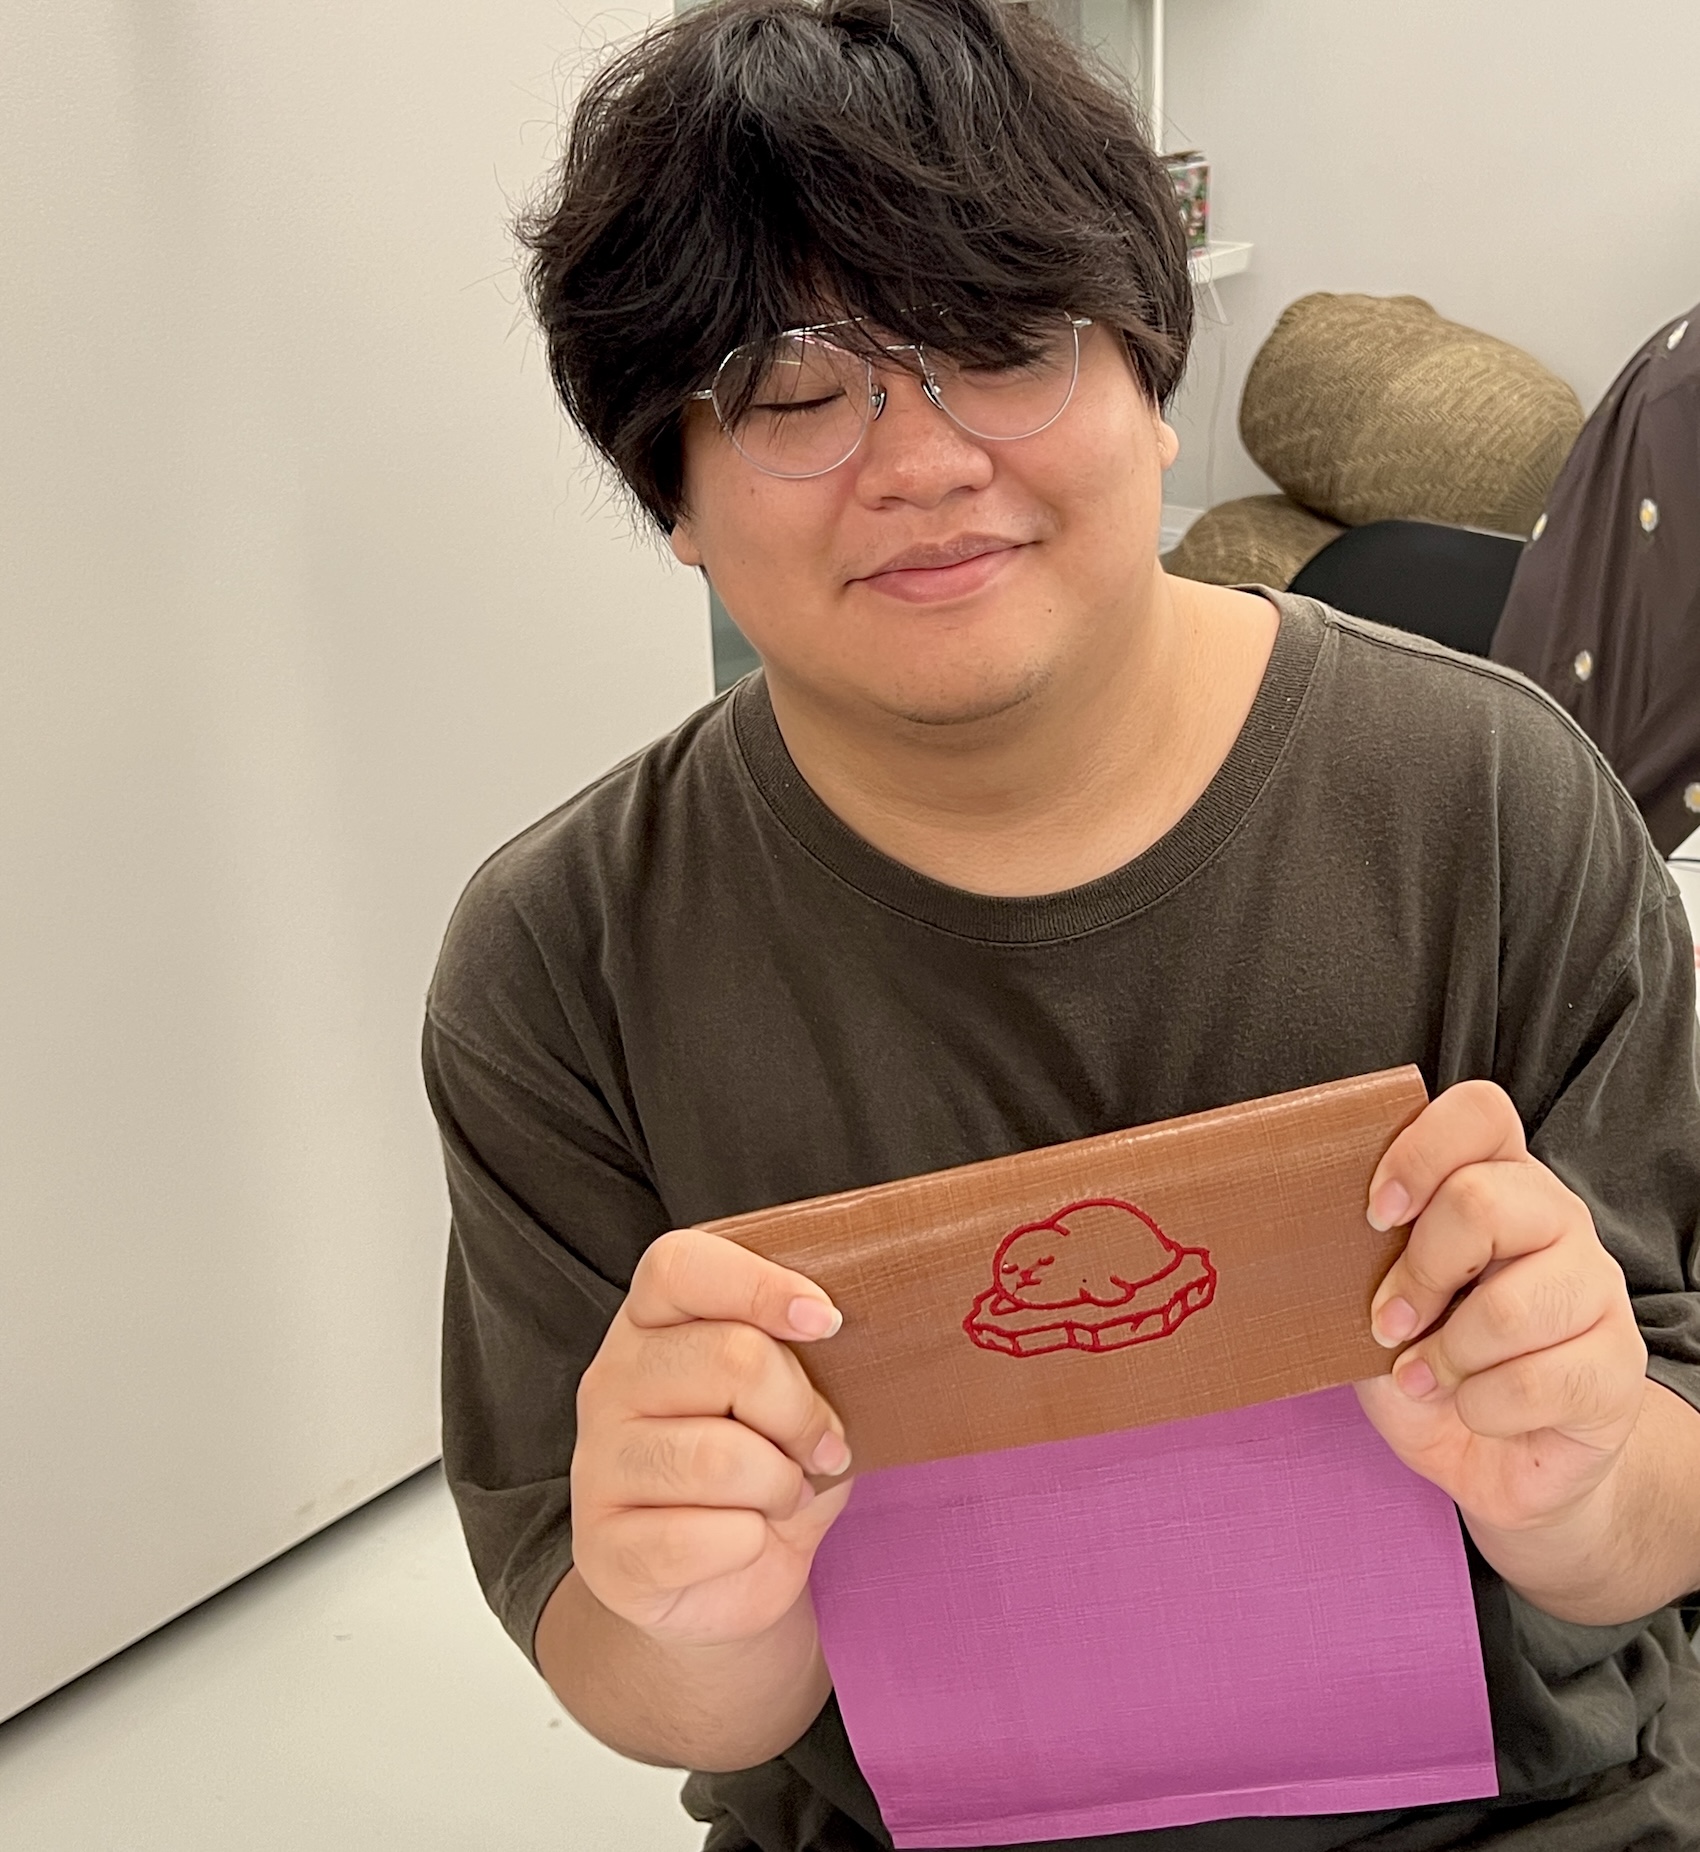
We saved this file to a thumb drive and transferred it to the sewing machine with the colour of thread we wanted for our design. I wanted my dear duck-bird to be in green, so I chose the machine with green thread. I also opted for a piece of tarp, which would form the pouch, in mauve lilac. I thought this would contrast nicely with the bottle green thread.
After the file was uploaded into the sewing machine, the facilitators showed us how to do simple operations on the machine—start sewing, stop and how to lift the pressor foot, which is the small metal clamp holding the fabric, up and down. There were also functions to change the position of the pressor foot laterally on the fabric.
Once the pressor foot was in the correct position on the tarp fabric, ensuring the embroidered design would appear in the right place, with sufficient room all around for the stitching of the pouch’s edges later, all we had to do was sit back and let the sewing machine get on with the job.
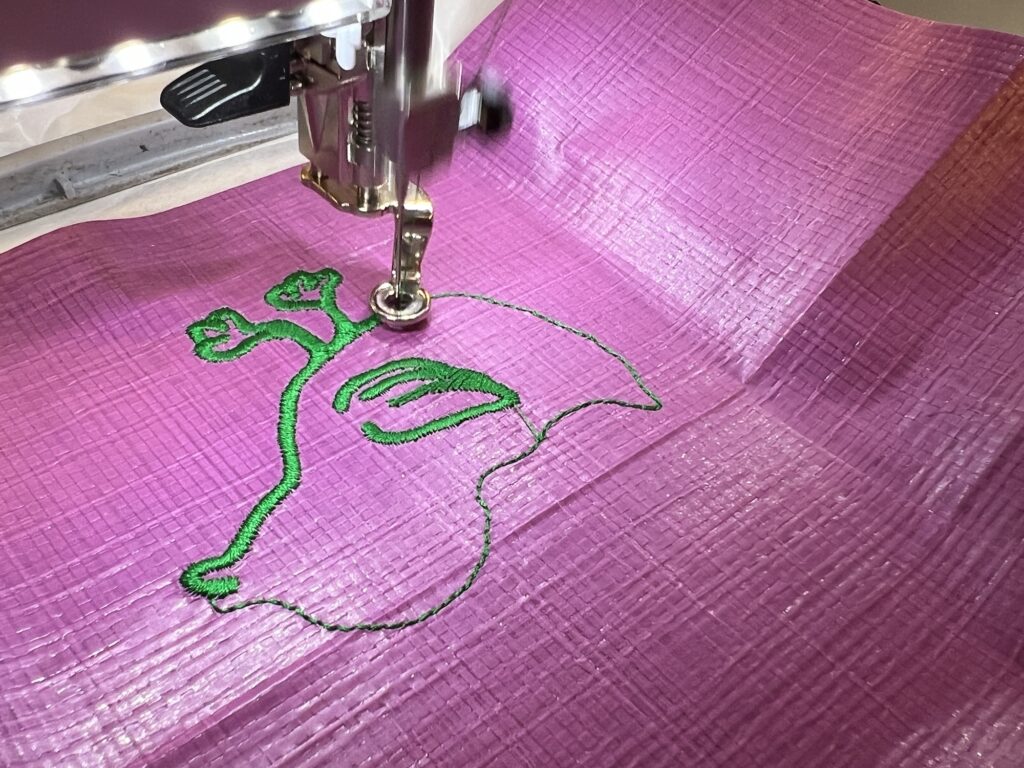
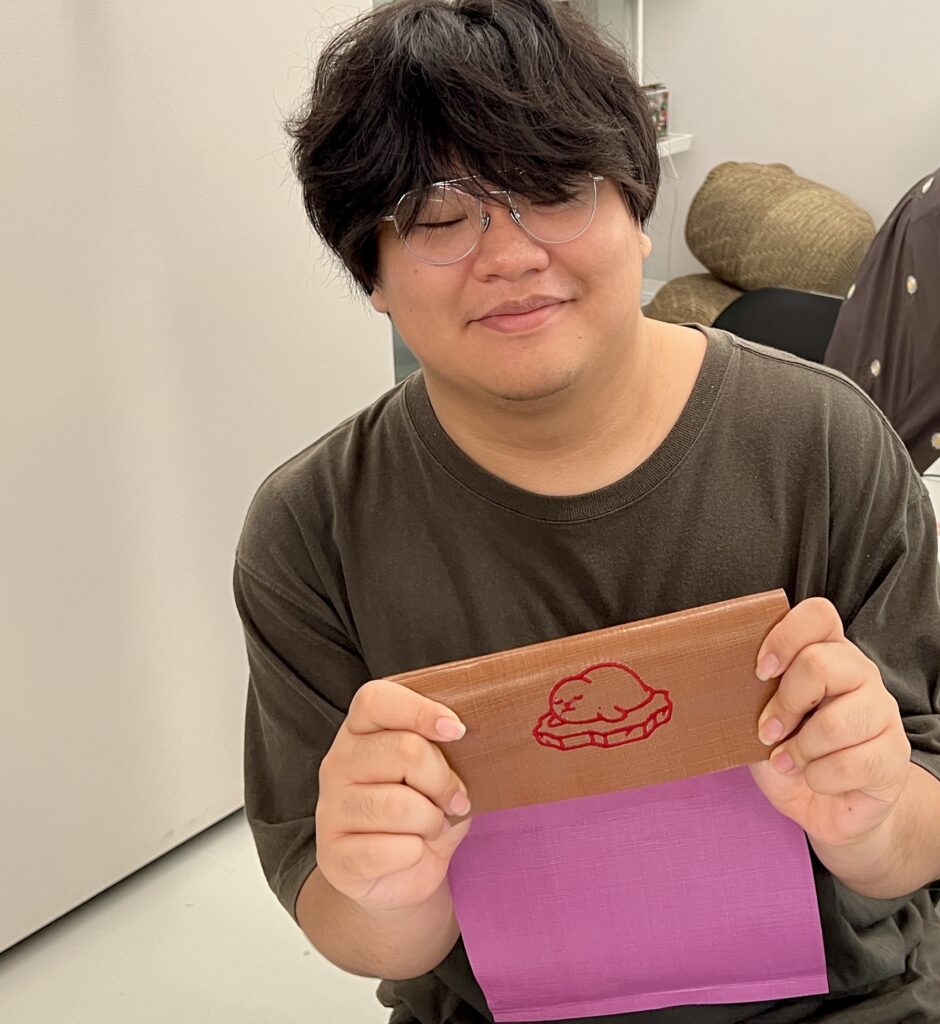
The results were pretty impressive! Everyone’s designs turned out super cute, and it was a fun, no-barriers-to-entry experience enjoyed by all.
Follow SpudnikLab on Instagram for updates on workshops and activities at the Potato Productions Makerspace @Beacon.