If you don’t have the means or justification to buy a microscope, there are tiny macro lenses you can buy to attach to your smartphone. Some of these though, especially the reputable brands, can cost a pretty penny. Easier on the wallet and way more interesting to make is a macro lens attachment for your smartphone yourself.
As part of Spuds Meet on 28 Aug 2026, organised by Potato Productions for folks across its various companies, we learned to do just that. We turned up for the 3D Printing Workshop conducted by Saad Chinoy, Chief Geek of SpudnikLab (one of the companies under Potato Productions), this time in his capacity as a lifelong enthusiast of all things tech, mechanical and scientific. Saad also happens to have designed and assembled the Potato Productions Makerspace where the workshop was held, at Beacon.
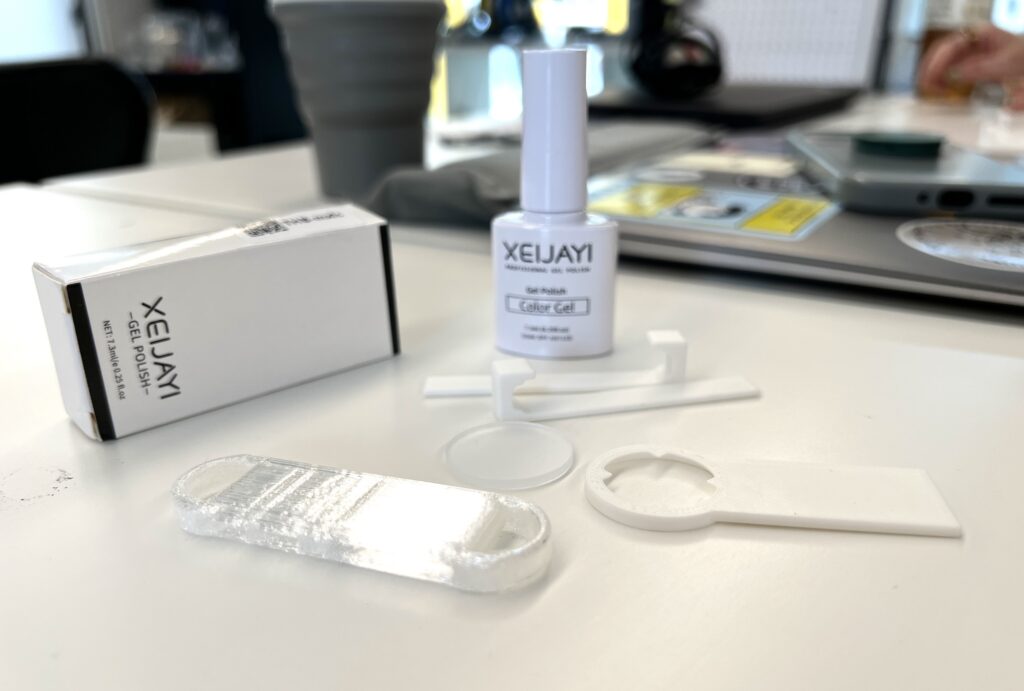
The objective of the 3D Printing Workshop was to put together a macro lens for a smartphone, using parts made from 3D printing which had been created by Saad prior to the workshop.
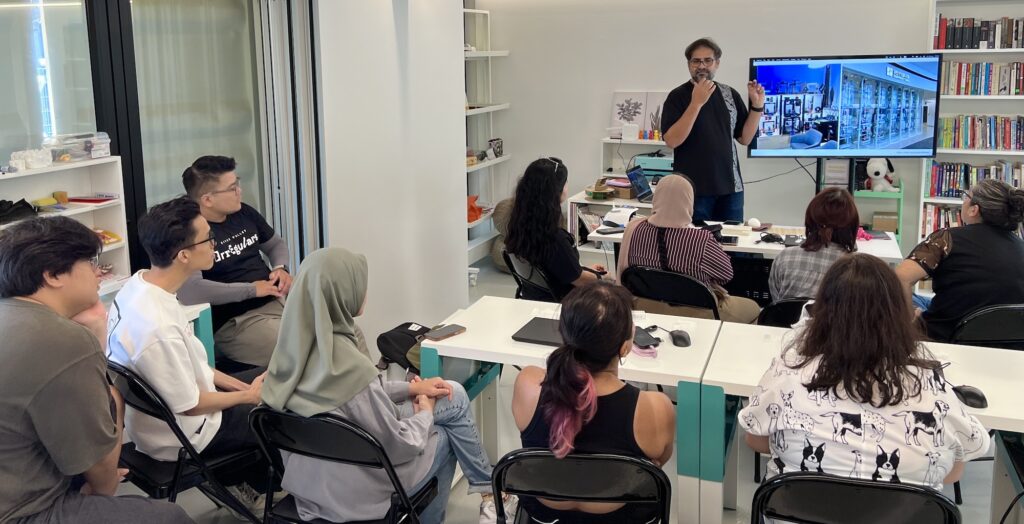
During Saad’s presentation at the workshop, we learned that 3D printed objects are made of plastic filaments that typically come in spools of 1kg. The plastic filaments used at the Potato Productions Makerspace are repurposed from PET plastic (polythylene terephthalate), the type of plastic used to make single-use water bottles. To become plastic filaments, these PET plastic bottles are cleaned and stripped of their labels, then shredded, melted and extruded into recycled PET (rPET) filament for 3D printing.
It’s also interesting to know that another type of plastic used for plastic filaments for 3D printing is PLA plastic (polylactic acid). This is an easy-to-use, biodegradable plastic made from renewable plant sources like corn starch. This sort of plastic is ideal for beginners and can be used to make 3D printed visual models and toys.
Steps to making a macro mobile phone lens
A surprisingly difficult Step 1: Removing a piece of protective film
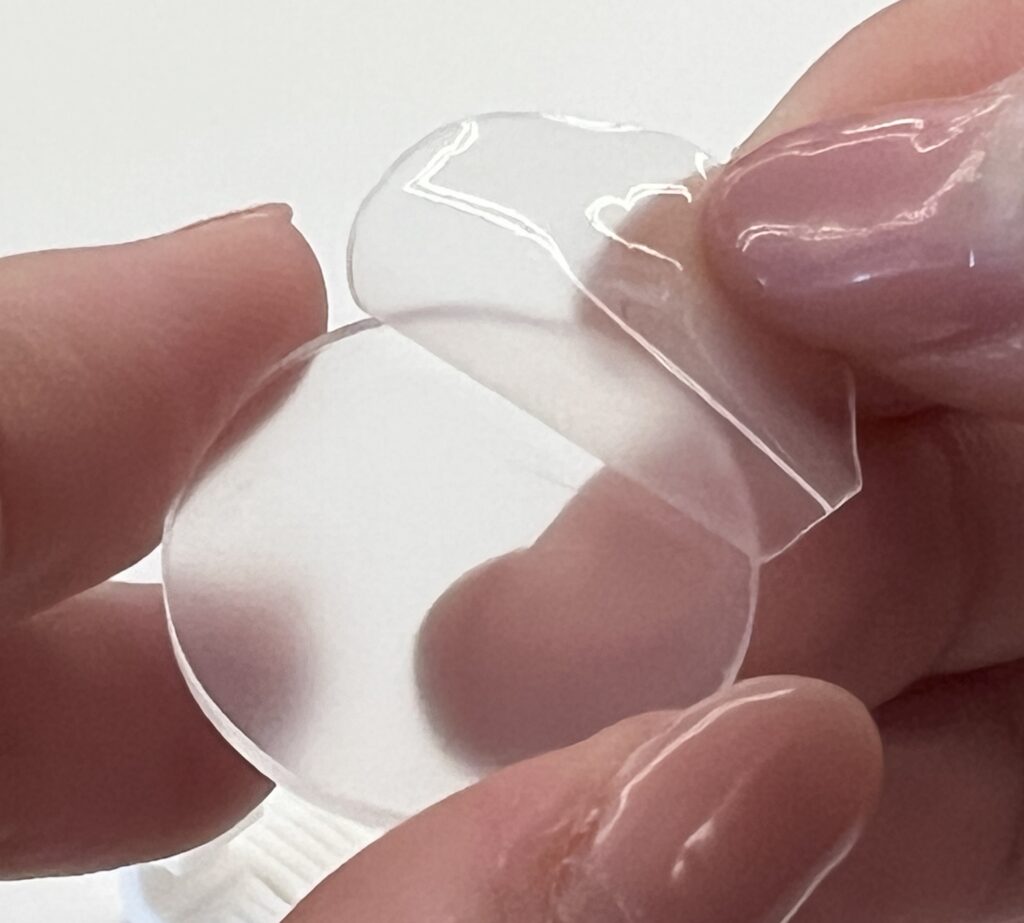
The base of macro lens we were making came in the form of a small, clear acrylic disc. Working in pairs, our first task was to remove the protective film from both sides of the disc. This didn’t sound too difficult but something about the texture of the edge of the disc made getting a proper grip on the film exceedingly challenging. It was honestly much harder than sticking a protective film on your smartphone without getting any air bubbles trapped. Finally, after much fumbling and one or two people letting their discs roll away, we succeeded in getting those discs film-free. Yay!
A far more fun Step 2: Applying UV gel nail polish
Now we had to drop one drop of clear UV gel nail polish onto the disc. This UV gel nail polish would create the magnifying effect when combined with the plastic disc. Thankfully, even for those who had never used/worn nail polish before, this step was a breeze.
Breezy (pun intended) Step 3: Drying the UV nail polish with a UV light
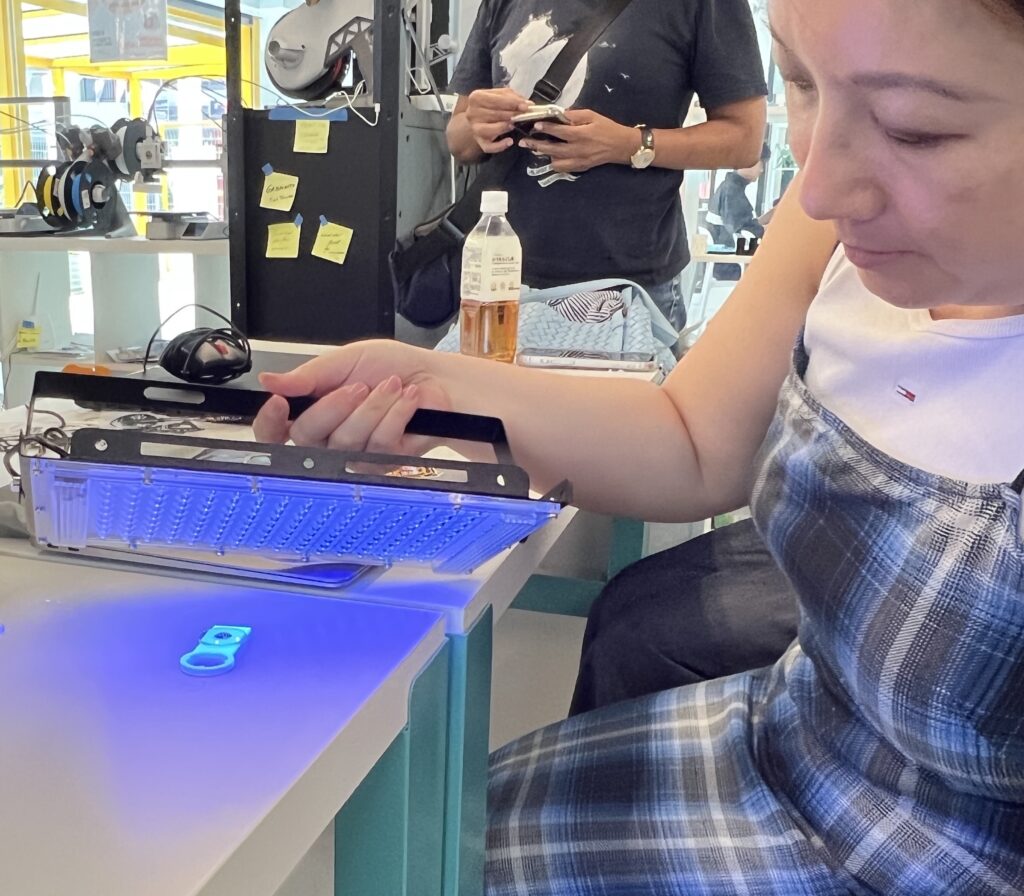
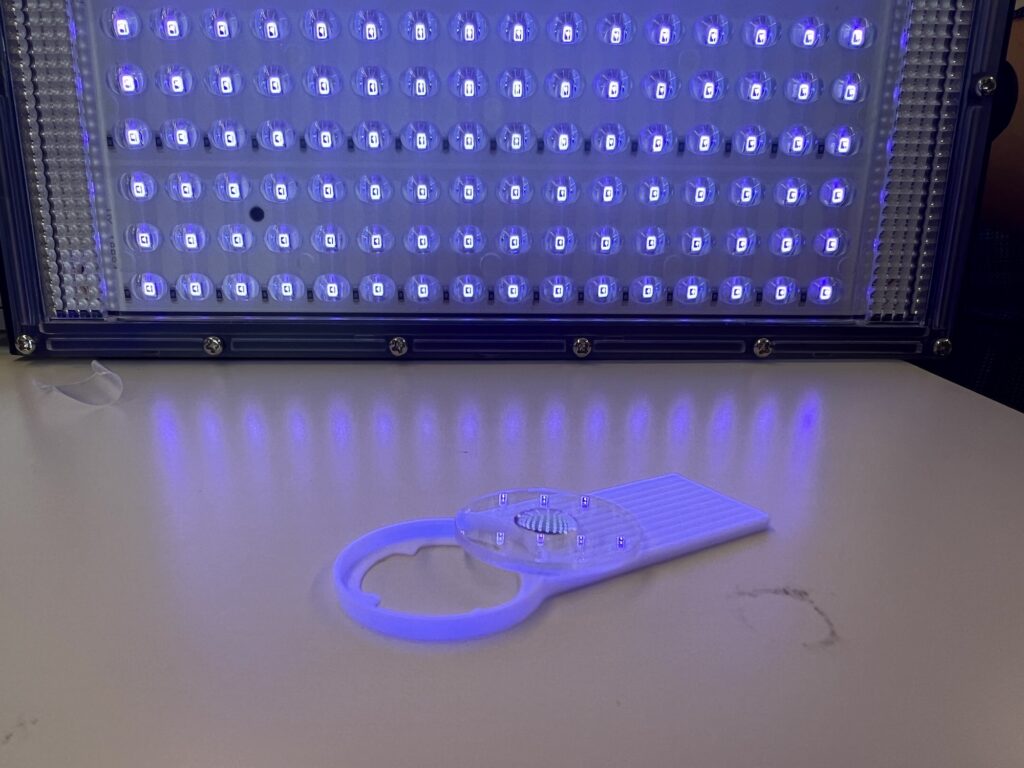
After the drop of UV gel nail polish was on the plastic disc, we then had to cure the drop with UV light. Applying UV light doesn’t make regular items or nail polish dry faster, but works to harden special gel nail polish and other substances like UV-sensitive resins and glues. In gel nail polish, UV light triggers a chemical reaction known as polymerisation, which converts the liquid polymers to a solid, plastic-like state. (Polymers are large molecules made up of many repeating smaller units, arranged in a long chain, like a chain of paper clips.)
The fascinating Step 4: Putting it all together
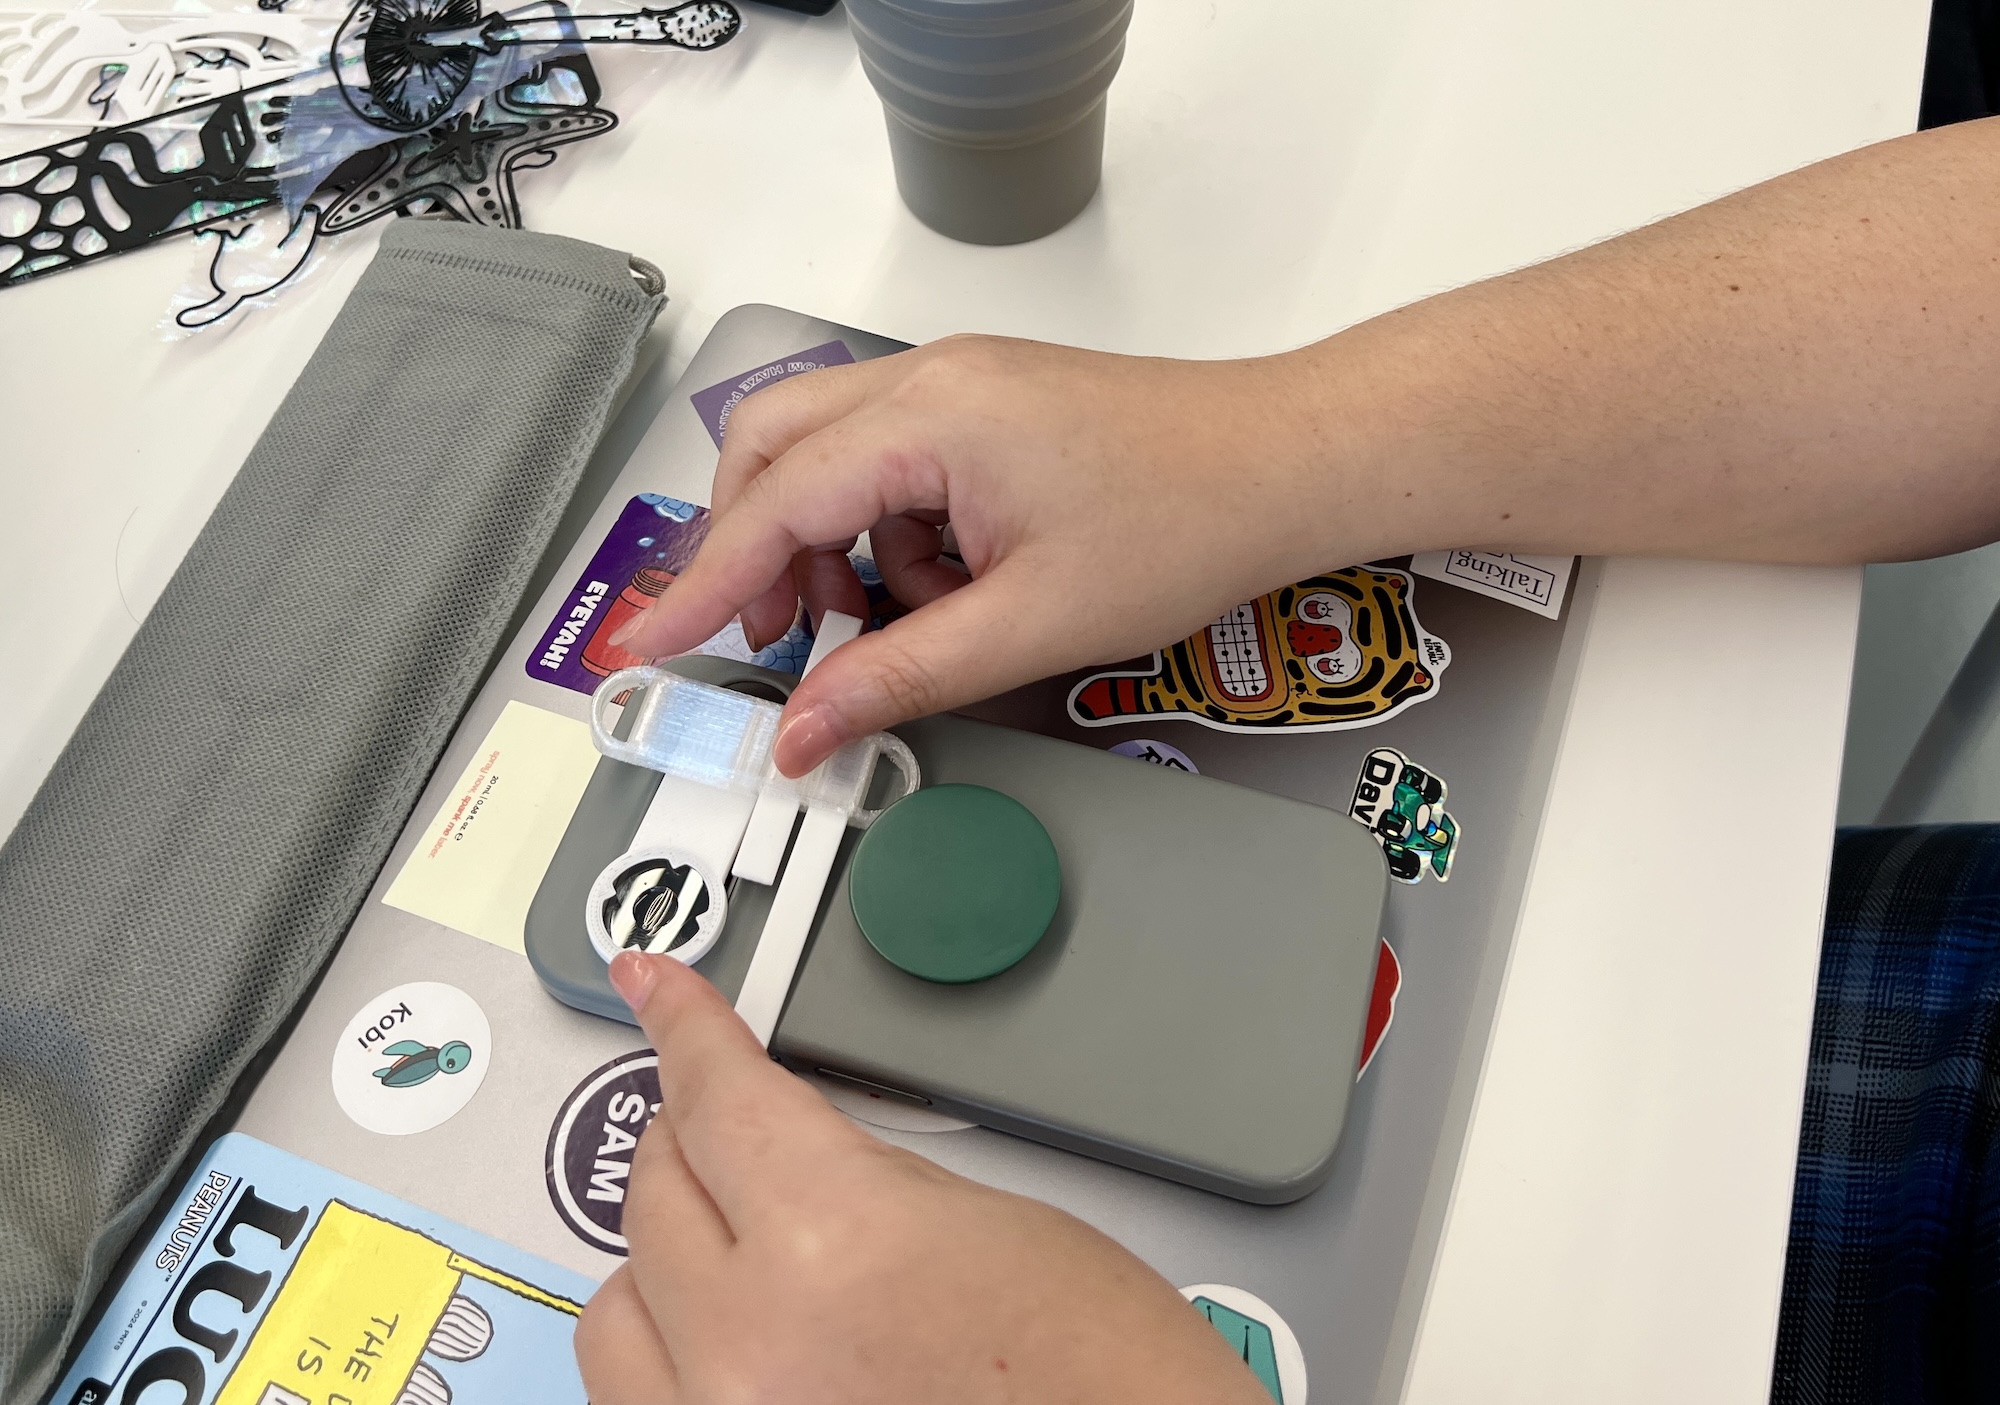
We then had to fit together the 3D printed parts previously made by Saad onto a mobile phone. This would form the holder structure for the lens. After a bit of fiddling to secure the parts in the correct place, we popped in the lens, and we had… a magnifying camera!
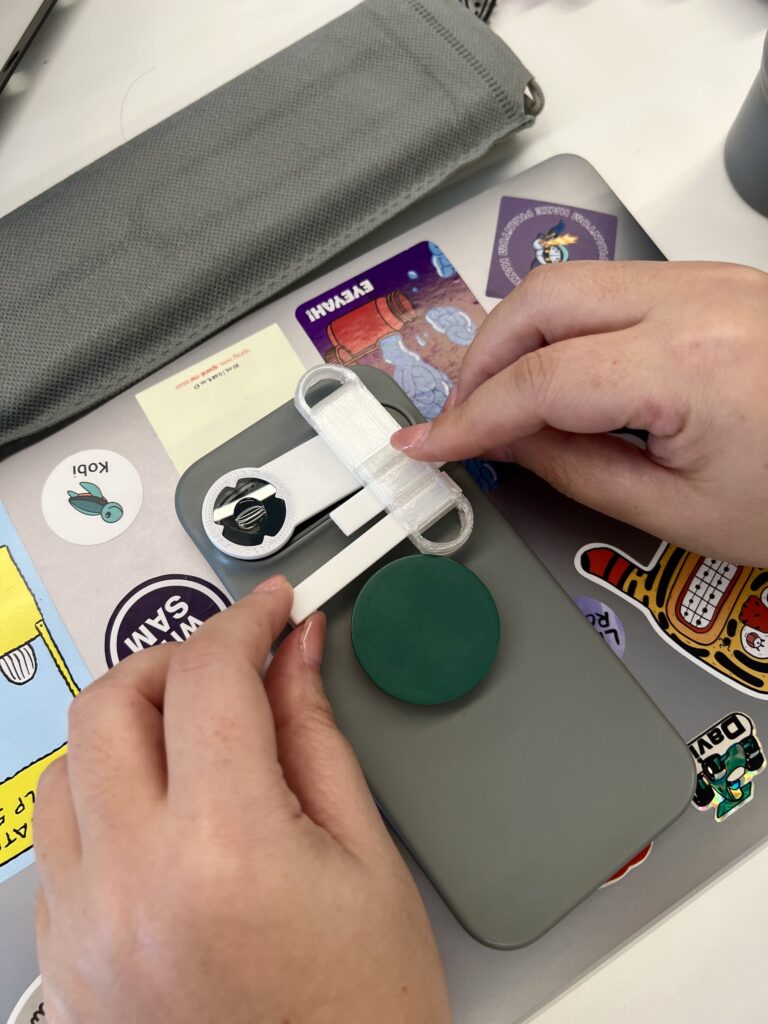
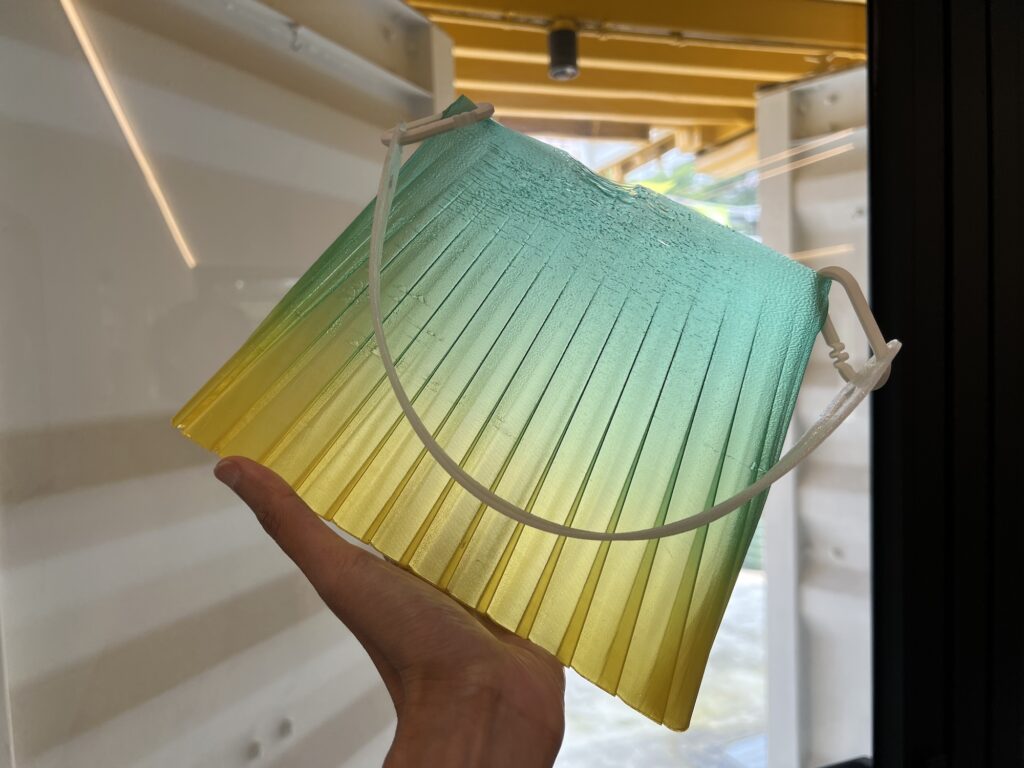
Then of course, we had to take our little contraption for a test drive…
While my bench partner and I weren’t sure if our self-made lens was truly magnifying or simply creating some cool-looking distorted images, when we looked at some of the lenses made by our fellow workshop participants, the magnifying effects of the lens were noticeable. Some of the images looked quite magical, and we were able to enjoy the wonder of examining details of subjects that would have escaped our eyes unassisted.
In all, it was an extremely fun afternoon getting to experience some of the possibilities of 3D printing in relation to image-making magnification, and trying an activity which would ordinarily be outside of our usual realm of experience.
The Potato Productions Makerspace @Beacon is located at 1 Yung Sheng Road, on the grounds of Taman Jurong Community Centre. Beacon is a social service hub that is a joint partnership between Tasek Academy and Social Services, Bernina and Potato Productions.
Follow SpudnikLab on Instagram for updates on workshops and activities at the Potato Productions Makerspace @Beacon.